● Custom Business Copilot AI Chatbot;
● Available 24/7 to Enhance Support Experience;
● Personalized Training with Customized Knowledge;
● Instant Answers to Your Enterprise-specific Questions;
● No Coding Required to Support Multiple Languages.
Learn More
Start for Free
How to Create Knowledge Base in ChatInsight?
As we mentioned in previous articles, GPT is a language model trained on a large amount of data. Once trained, GPT can predict the next word in a sentence and generate coherent and natural sentences and paragraphs to respond to queries. Therefore, before we dive into creating our own chatbots with ChatInsight, our first step is to gather the relevant data according to our specific business needs. That is why we need to create and manage the knowledge bases first.
In this tutorial, we will guide you to create the knowledge bases in ChatInsight so that you can be fully prepared for creating chatbots later.
- Step 1Create a new category
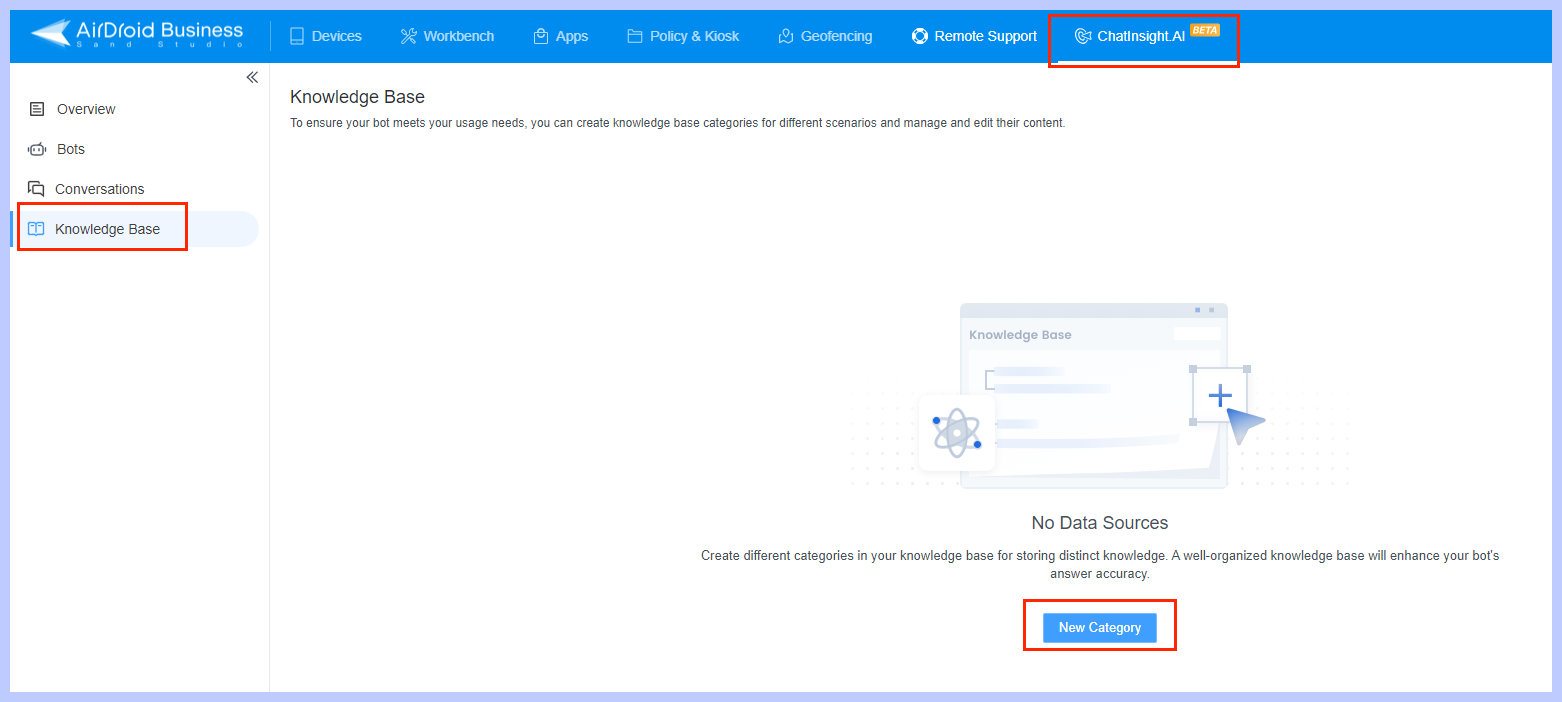
- Go to the ChatInsight.AI section on the top. Navigate to the "Knowledge Base" on the left bar and click on the "New Category" button.
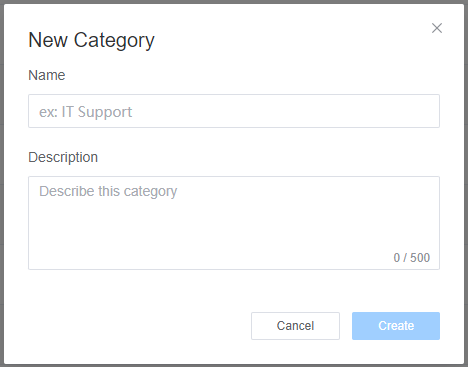
- Fill the information (Name, Description) in the pop-up as needed and click on the "Create" button.
- Step 2Add the Data Sources
- Click the Category you just created, and add your data sources. Data sources are the component of the knowledge base. You can add data sources in the category by three ways: writing, uploading documents, or importing website.
- 1. Writing
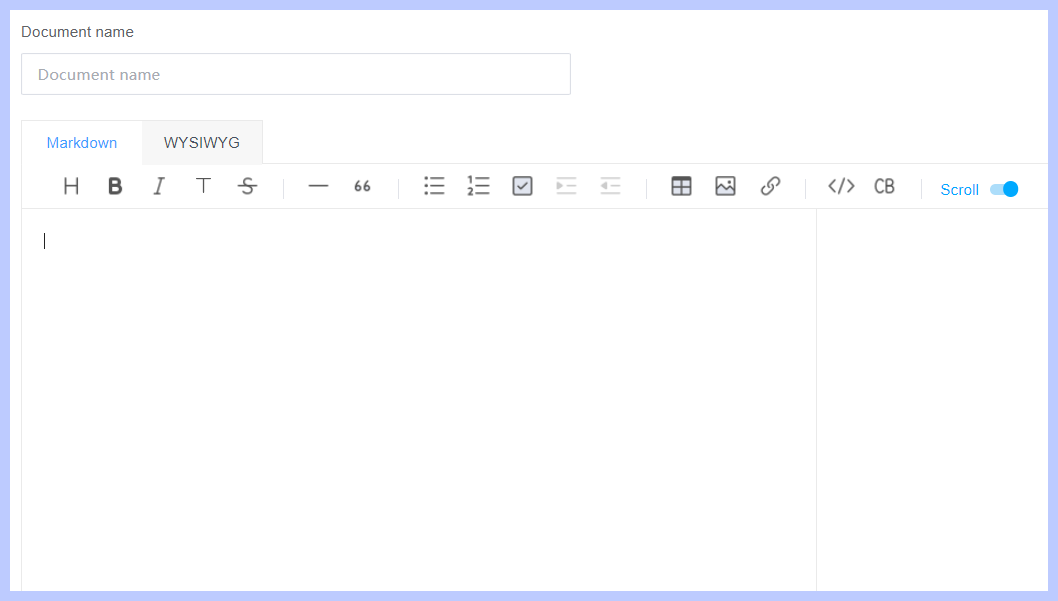
- Click on the card "write" and edit the content on the editor. There are two types of editor: Markdown and WYSIWYG.
- Markdown is a rich text editor that allows you to modify content in the Markdown format and preview the content. On the other hand, WYSIWYG is another rich text editor that displays content in Markdown editor.
- 2. Uploading documents
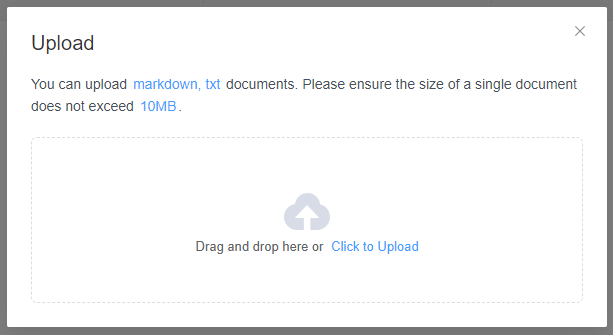
- You can upload markdown, txt documents. Please ensure the size of a single document does not exceed 10MB.
- There are two ways to upload documents. One is to click the button to upload documents, and a pop-up will pop up. Users can follow the guidance of the pop-up window and choose to click on the file to upload or drag and drop to upload.
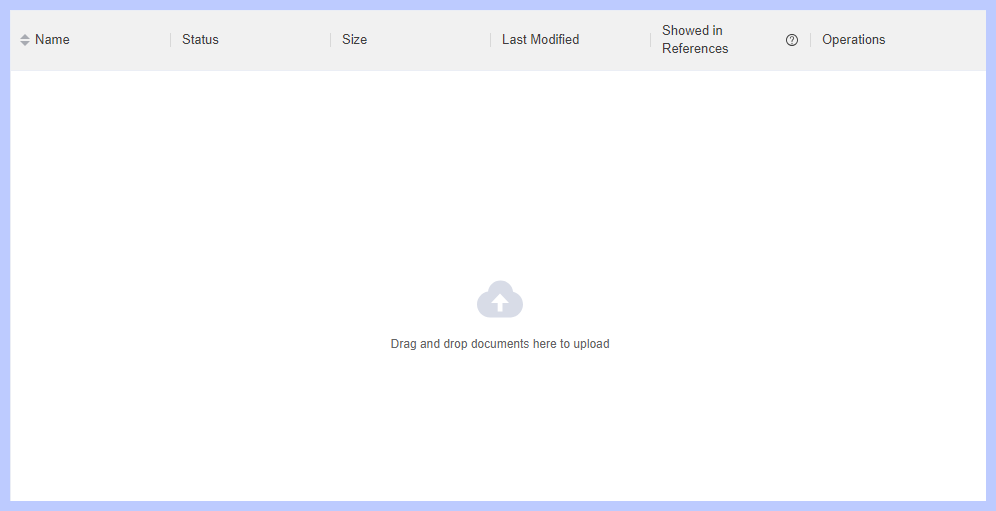
- The other is a faster way to upload documents. That is, the entire list module of the page is an upload area, allowing users to directly drag files to the list location to upload documents directly.
- 3. Importing website
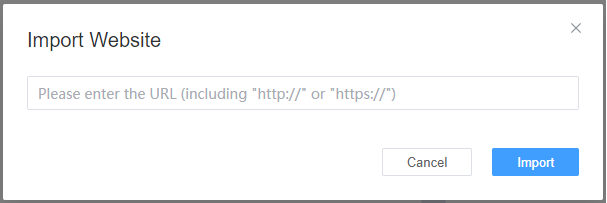
- You can also choose the method of importing web pages. Click on the button"Import Website". Enter the corresponding URL on the pop-up and then click "Import".
- Note that you should enter the complete URL, which includes the first http or https part.

- Step 3Train the documents
- Once the parsing process is complete, the Status column of the document list will display the text "Waiting for training".
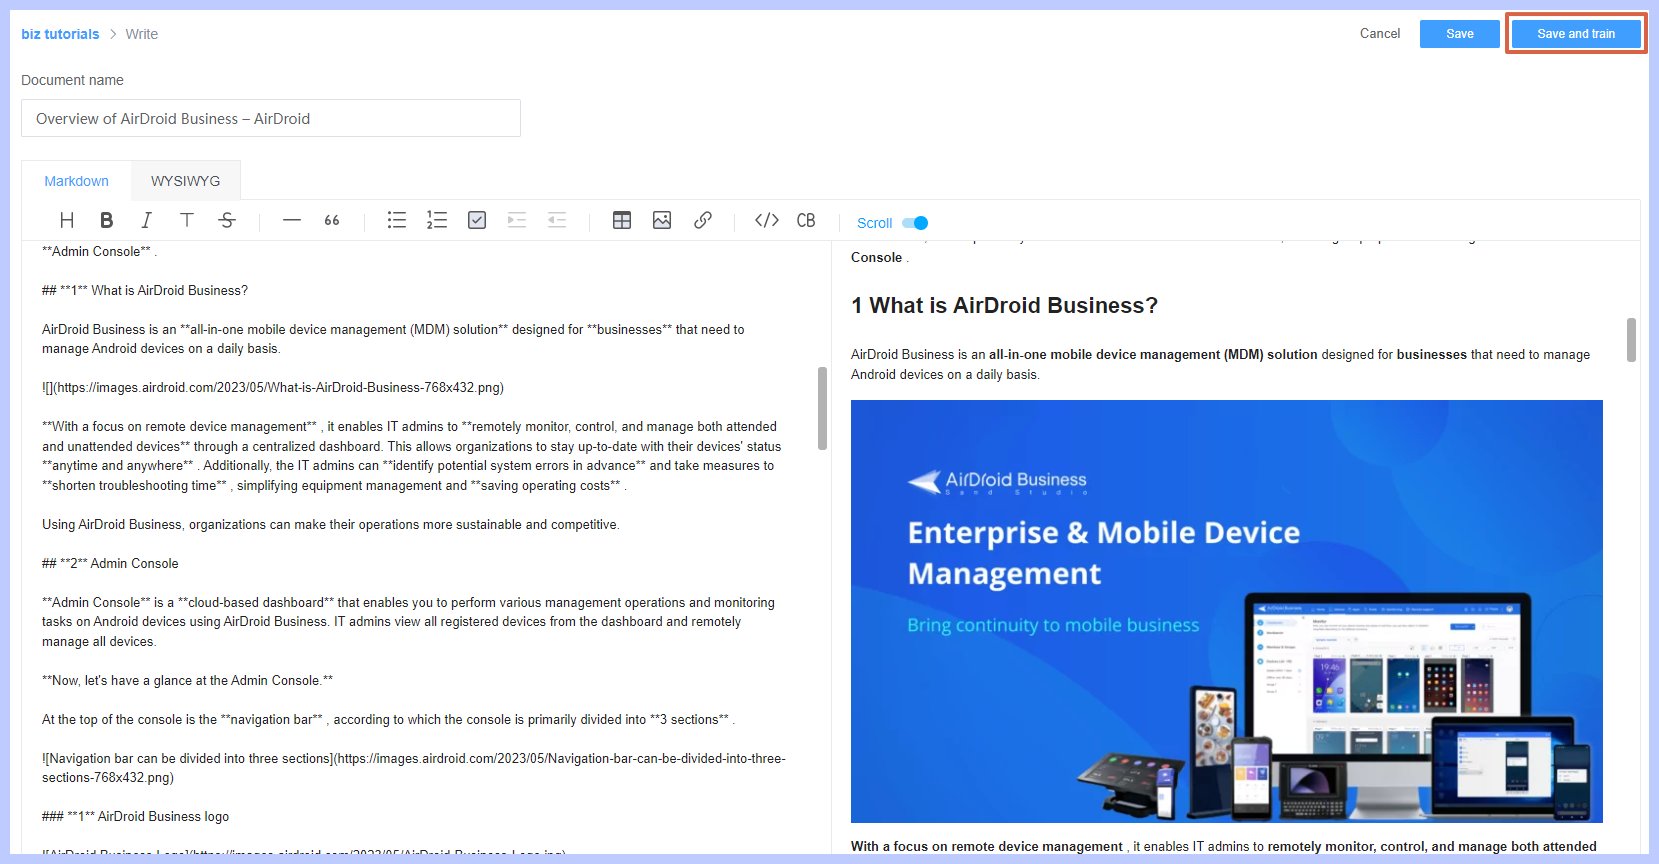
- Click to modify your content.
- Then click on the “Save and train” button on the top right to train the document.

Still need help? Submit a request >>